
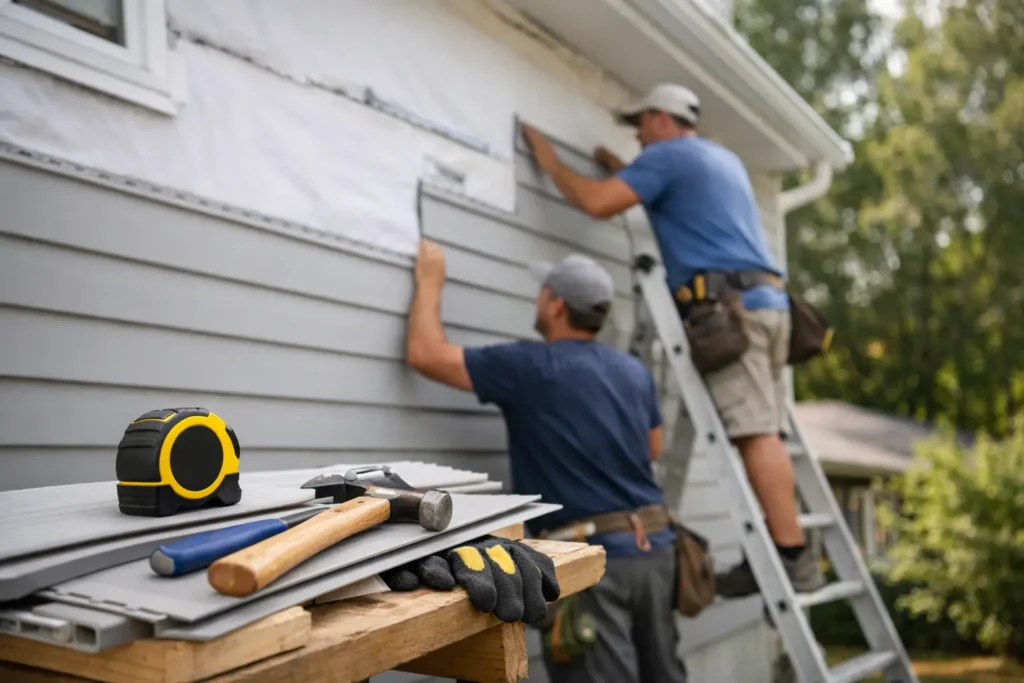
A siding project gets real the moment old panels start coming off your house. That is usually when homeowners begin asking the same question – what actually happens during the siding installation process, and how do you know the job is being done right?
If you are replacing worn, storm-damaged, or outdated siding, the process matters just as much as the material you choose. Good siding should improve curb appeal, help protect against moisture, and hold up through tough Central New York weather. But even premium materials can underperform if the installation is rushed, uneven, or missing key weatherproofing steps.
Why the siding installation process matters
Siding is not just a finish layer. It is part of your home’s exterior defense system. When installed correctly, it helps shed water, supports energy efficiency, and protects the structure underneath from rot and hidden damage.
That is why experienced contractors spend time on the parts homeowners do not always see. House wrap, flashing, trim details, and proper fastening all matter. If any of those pieces are skipped or handled poorly, the problem may not show up right away. It may show up months later as drafts, swelling, staining, or water intrusion.
Step 1: Inspection and planning
A professional siding job starts with a close look at the home’s current condition. Before new material is ordered, the contractor should inspect the existing siding, trim, soffits, fascia, and the wall areas around windows, doors, and rooflines.
This early stage is where hidden issues often come to light. There may be moisture damage behind old siding, soft wood around trim, pest damage, or signs that water has been getting in around penetrations. A good contractor will explain what is cosmetic and what needs repair before installation moves forward.
Planning also includes confirming measurements, material selections, profile and color choices, trim style, and any special details around corners or transitions. This is the time to ask practical questions about timeline, noise, access around the home, and what happens if damaged sheathing is found after tear-off.
Step 2: Site preparation and protection
Before installation begins, the work area should be prepared carefully. That means protecting landscaping, covering vulnerable surfaces, and creating a safe path for material delivery and debris removal.
Homeowners are often surprised by how much space a siding project uses. Crews need room for tear-off, staging, cutting, and cleanup. If you have patio furniture, grills, potted plants, or vehicles near the house, those usually need to be moved before work starts.
A reliable contractor will also talk through access points and daily expectations. If your project includes multiple elevations or tight spaces, setup may take a little longer. That is normal. It is better to take extra time upfront than to damage property or rush through prep.
Step 3: Removing the old siding
The next part of the siding installation process is tear-off. Existing siding, trim pieces, and sometimes old weather barriers are removed so the wall system underneath can be inspected.
This is one of the most important stages because it reveals the actual condition of the exterior walls. In some cases, everything underneath is sound and ready for the next phase. In others, crews find rotted sheathing, deteriorated trim boards, or areas that need reframing or moisture repair.
This is also where honest communication matters. If damage is uncovered, you should get a clear explanation of what was found, why it needs to be fixed, and how it affects cost and schedule. No homeowner likes surprises, but hidden damage is far easier to address during a siding replacement than after new material is already installed.
Step 4: Repairing the wall surface
Once the old siding is off, the exposed wall surface is repaired as needed. Damaged sheathing is replaced. Rotten wood trim may be removed and rebuilt. Areas around windows and doors may need extra attention if there were past leaks.
This step is not glamorous, but it is where long-term performance is won or lost. New siding needs a solid, dry, properly prepared surface behind it. Installing over weak or wet materials may save time in the short term, but it creates bigger problems later.
In regions like Syracuse, where homes deal with snow, wind, freeze-thaw cycles, and heavy rain, this part of the job deserves extra care. Exterior materials are only as dependable as the system underneath them.
Step 5: Weather barrier and flashing installation
After repairs are completed, the home is prepared with a water-resistive barrier and properly placed flashing. These materials help direct water away from the structure and reduce the chance of moisture getting trapped behind the siding.
This is a detail-driven stage. Flashing may be installed around windows, doors, corners, penetrations, and transitions where siding meets roofing or masonry. The exact setup depends on the home and the siding system being used.
Homeowners do not always see this work once the project is finished, but it is one of the strongest signs of a careful installation. Clean lines are important, but water management matters more.
Step 6: Installing trim and starter components
Before the main siding panels go on, crews usually install starter strips, corner posts, trim channels, and other support pieces required for the system. These components help create straight alignment and clean transitions.
This stage affects the final appearance more than many people realize. If corners are out of line or starter pieces are uneven, the siding can look off across the entire wall. A skilled crew checks level lines, spacing, and fit before moving into full installation.
There is also some variation here depending on the material. Vinyl, fiber cement, and engineered wood products each have different fastening patterns, expansion considerations, and trim requirements. That is one reason installation experience matters. The right approach depends on the product, the home, and local conditions.
Step 7: Installing the new siding
Once the prep work is complete, the new siding is installed course by course. Crews work carefully around windows, doors, vents, and roof intersections to keep lines consistent and water-shedding details intact.
This is the stage homeowners notice most because it changes the appearance of the house quickly. But speed should never come at the expense of fit. Siding should be aligned properly, fastened according to manufacturer requirements, and installed with the right clearances at edges and openings.
Different materials require different handling. Vinyl needs room for expansion and contraction. Fiber cement must be cut, fastened, and sealed correctly. Engineered products may have their own moisture and clearance requirements. There is no one-size-fits-all method, and that is where quality workmanship shows.
Step 8: Finishing details and cleanup
After the main installation is complete, crews finish the smaller but important details. That includes sealing where appropriate, reinstalling fixtures, checking transitions, and making sure trim lines are clean and consistent.
Cleanup should also be part of the job, not an afterthought. Old material, nails, scraps, and packaging should be removed from the site. A final walkthrough gives the homeowner a chance to review the work, ask questions, and understand any warranty or maintenance guidance.
A professional finish is not just about how the siding looks from the curb. It is also about whether the property is left safe, clean, and ready to use.
What can affect the timeline?
Some siding projects move quickly. Others take longer because of weather, repair needs, home size, or material type. A straightforward replacement on a smaller home may be completed faster than a complex project with multiple elevations, custom trim, or underlying wall damage.
Weather is a real factor in Central New York. Rain, snow, freezing temperatures, and high winds can delay exterior work or change the order of operations. That does not always mean the project is off track. It often means the crew is protecting the home and waiting for conditions that allow proper installation.
The most important thing is communication. Homeowners should know what to expect, what could cause delays, and how the contractor will keep the project moving responsibly.
How to tell the job is being handled professionally
Most homeowners are not expected to know every technical detail, but there are a few signs that the project is in good hands. The crew keeps the site organized. The contractor explains what is happening at each stage. Repairs are documented clearly if hidden damage is found. And the finished work looks clean not only from a distance, but also around corners, trim, and openings.
Just as important, you should never feel pressured to ignore visible problems underneath the old siding. A dependable contractor addresses those issues before covering them up.
When homeowners work with a company that values workmanship and straightforward service, the process feels less stressful. That matters. Exterior projects are a major investment, and you should know your home is being protected the right way from the start.
If you are planning siding replacement, focus on more than color and style. Ask how the contractor handles prep, repairs, moisture protection, and cleanup. The best-looking result is the one that still performs years after the crew packs up and leaves.